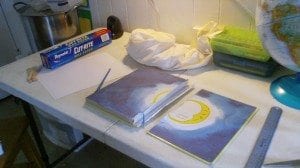
In a house full of young children it is not unusual for me have a box of books sitting around waiting to be mended….
One of the common repairs is reattaching one or both covers to a hardcover book. It isn’t actually a hard thing to do, although it does take a little while as you have to wait for the glue to dry between steps.
Materials and Tools:
Unbleached cotton muslin
20# white paper (this is regular printer paper)
White School Glue
Wax paper
Scissors
Ruler
Pencil
Weights of some kind (bricks are good or even other heavy books)
Craft/popsicle sticks
Table or butter knife
1. Cut a piece of muslin about 1/2 an inch shorter than the book spine and wide enough to reach from the midpoint of the spine to about an inch past the edge of the board.
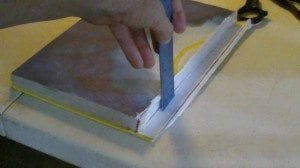
2. Gently loosen the end paper from the board and peel back. A table knife works well for this. Pull the end paper back about 2 inches.
3. Mix Elmer’s School Glue (or similar) with enough water to make it possible to brush it onto the exposed board and the spine. You don’t want it real watery, just thin enough to brush a thin layer on smoothly. Note: This is not acid free glue so if the book is valuable you’ll want to get proper librarian’s glue.
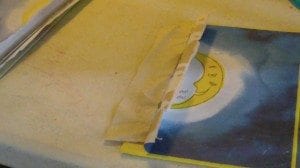
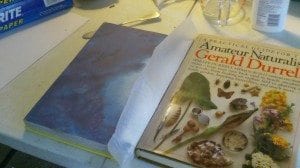
4. Apply glue to the spine and glue down muslin. Allow to dry with a brick or another book putting pressure on the spine to ensure a good bond.
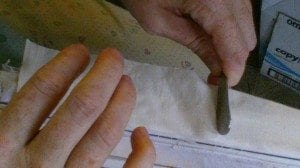
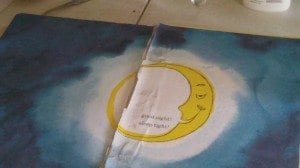
Smoothing the muslin hinge onto the spine after gluing. This book was poorly made so I didn’t have any old glue to remove. If you do need to remove old glue coarse sandpaper will usually do the trick.
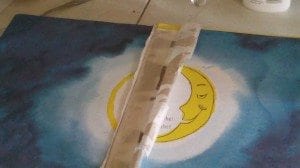
5. Apply glue to the exposed board and glue down the muslin being sure to get it smooth. Weight and allow to dry.
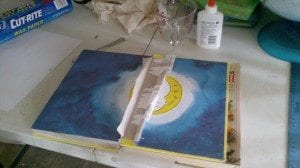
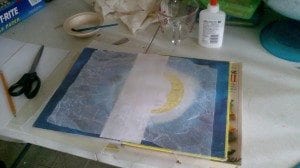
Back board aligned with spine and ready to be reattached. Note wax paper protecting the other book from damage.
6. Re-glue the end paper and allow to dry open with a weight on the end paper.
7. Cut a small strip of regular 20# printer paper as long as the end paper and about 2 inches wide. Fold in half lengthwise, spread glue on the edge of the endpaper and the edge of the last sheet in the book. Place the paper hinge on the glue, smooth, weight and allow to dry.
It’s a bunch of steps but that thinned glue dries fairly quickly and the repair is quite strong.

