
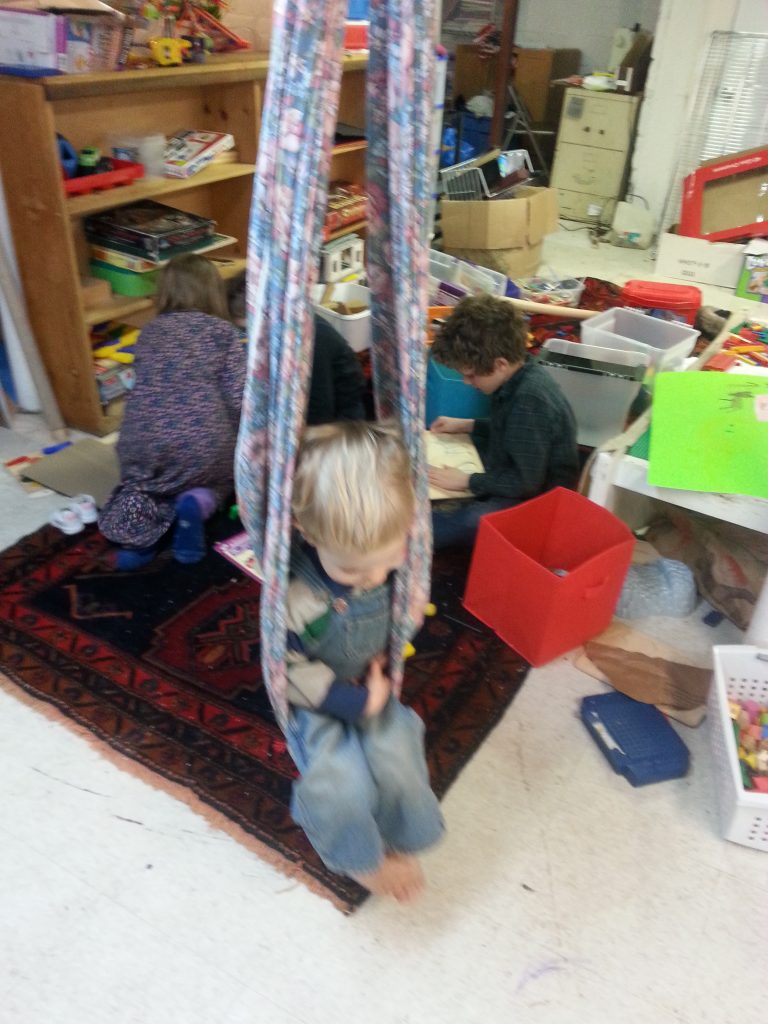
One of the wonderful things about this house is its (mostly) finished basement! When we first moved in, we used it for a schoolroom, but ended up moving that upstairs to the largest, sunniest bedroom. The basement became a storage place, then was empty while we had repair work done and is now in the process of becoming a project and play space.
One thing I’ve wanted to do for a while is put some equipment down there for active play on the days when it’s too cold to go out in the snow. I’ve looked at a lot of things and so much is just far beyond my budget. I decided to see what I could make myself.
Swing
One thing I really wanted was a swing of some kind. I looked up several different ways of making them (thank you Pinterest!) and realized that I could easily hang one from one of the floor joists.
This was very simple:
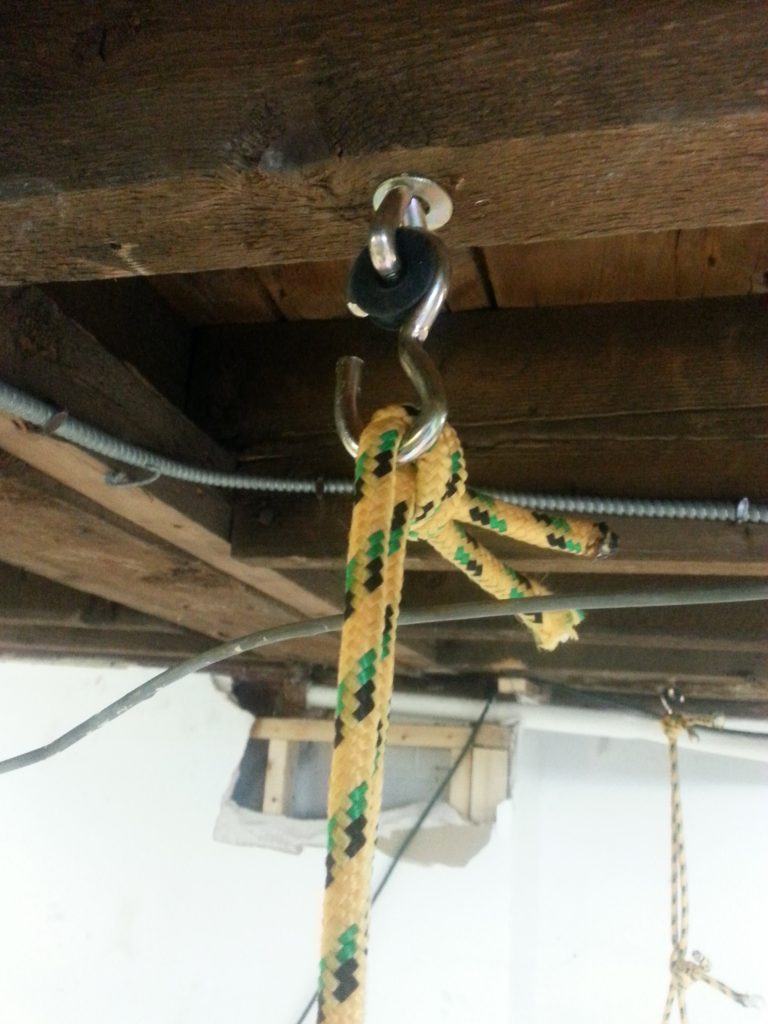
I bought a 150-300 lb rated carabiner at Home Depot which was about $3.
Drilled a hole through the joist (selecting one with a fairly short span between supports to minimize bounciness in the floor above) and ran a piece of 1/2 inch rope through the hole. The rope is temporary as it will quickly wear through and it rubs on the joist more than I like.
I plan to replace it with a clevis and pin from Tractor Supply.
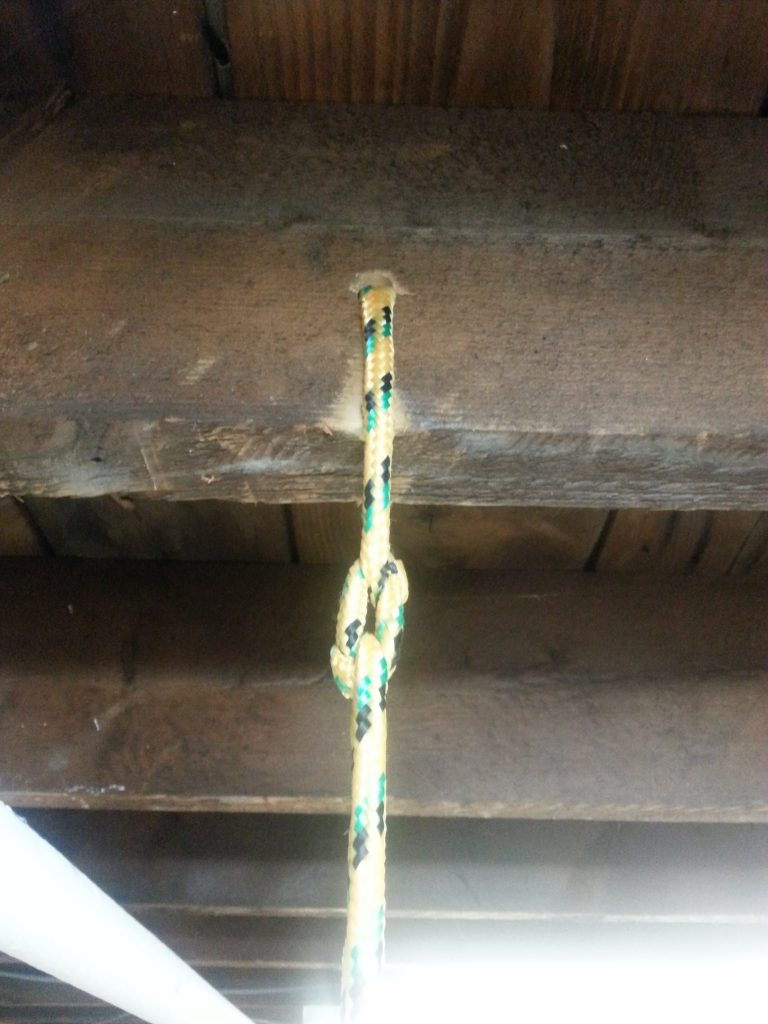
As you can see there is a fair bit of wear on the rope after just a couple of hours of use. This gave me the chance to see how the rest of the design worked before by a $15 piece of hardware.
The seat is a long (3 yards or so) piece of cotton fabric out of my stash. Standard 45 inch width folded in half lengthwise and stitched.
I threaded one end through the carabiner and tied it around by basically making a half hitch with the fabric. Then threaded the other end through and tied it in a half hitch around the first side. The loose ends were tied together.

The fabric in the knots compressed quite a bit more than I expected so the swing is several inches lower than I wanted. I plan to retie it and start a couple of inches higher than I want the swing to hang to compensate.
Rope Ladders
I wanted to have some kind of climbing equipment as well as the swing and decided that a rope ladder of some kind would probably give the most variety of use in the space available.
I bought a set of swing gambles at Home Depot (about $4)?as well as an eight foot long piece of thick dowel for the rungs. ?I already had a coil of rope at home.
The swing gambels screw into the joists. The ladder then hangs from a loop of rope hanging from the gambel.
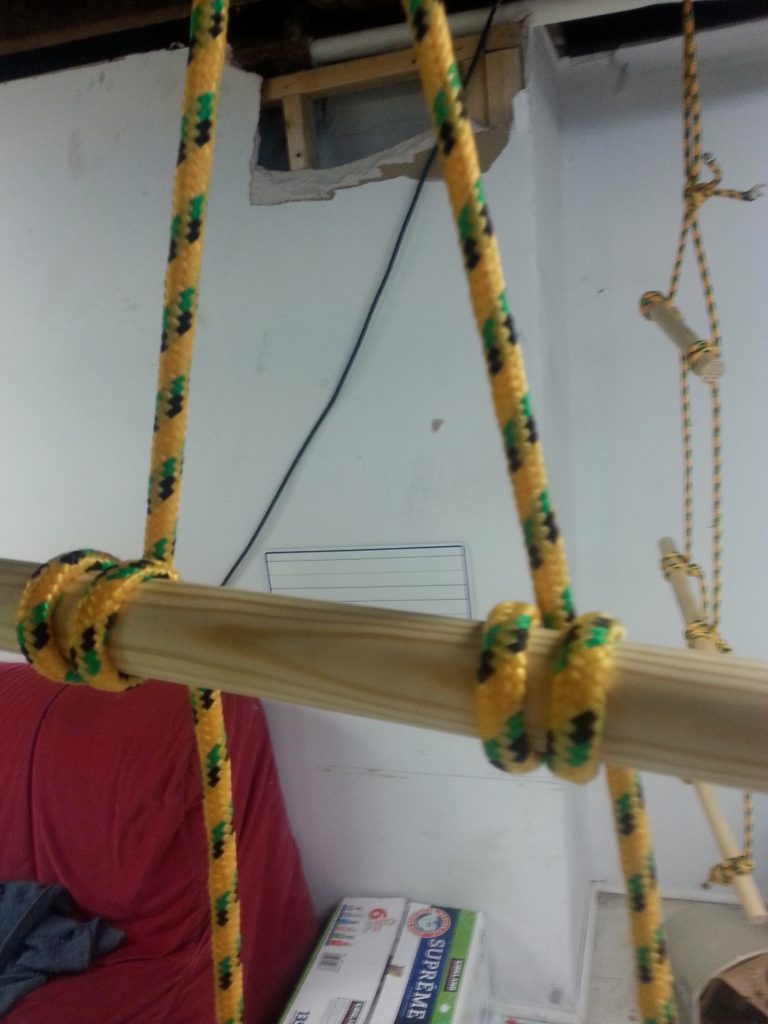
Since the ceiling is 7 feet high I used to nine foot lengths of rope for each ladder. The rungs are 14 inches long with each ladder having three rungs.
I didn’t worry a whole lot about making the rungs an even distance apart.
Figuring out the knots for the rungs was tricky. The first couple of knots I tried allowed the rungs to slide up and down, which wasn’t the effect I was going for at all!
Finally I came up with a sort of double half hitch that seems to hold fairly well.
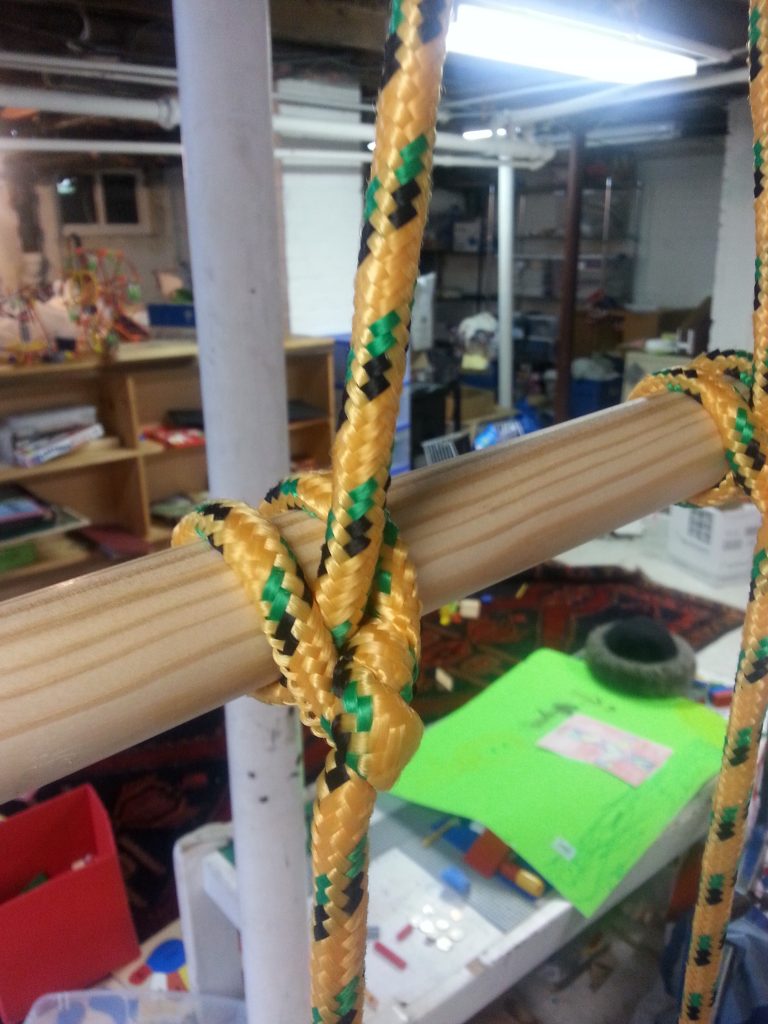
These ladders swing and sway really well and require both strength and attention to climb.
I finished the project just before dinner last night. It probably only took an hour and a half or so but we worked on it in spurts throughout the day instead of start to finish.
First thing this morning, children were down in the basement playing so I think it’s a success!